Introduction
unlim.ai offers you unlimited access to Stable Diffusion. With our app, you get direct access to the world of image generation. While that is exciting, there is also a learning curve to creating prompts that return beautiful images. With this guide we aim to put you on the right track so you can start getting amazing results as soon as possible.
Features
We offer the following features: Create, Advanced, Image to Image, Upscale, Draw pose.
Create mode (easy mode)
Create is the easiest mode. All you need to do is to write what you wish to generate, choose the image style and click on "Generate". It is the only mode available for free plan users.
In this mode you do not need to worry about advanced parameters, we do it all for you. That being said, the longer and more detailed prompt you provide, the higher chances of getting the image you were looking for.
The image generation takes around 2 - 3 seconds + the queue. Unfortunately, for free plan users, the queues are longer. Once you get your image, you are presented with multiple options:
Retry with a different seed: Another image will be generated, but this time it will have a completely different seed. Seed is the number from which the image stems. For example: if you generate two images with the same seed and parameters, the images will be the same. However, the same prompt will return different images if you use a different seed. Please note that seed cannot be set manually on the Create mode.
Upscale: The image will be sent to Upscale tab where you can make the dimensions larger using AI without making the picture blurry as it normally happens when resizing images.
Delete: The image is deleted. Unavailable for free plan users.
Persist: The image will be kept. Normally we auto delete your images when you reach a certain number of generations. Unavailable for free plan users.
Download: The image is downloaded to your device. Free plan users receive their image with a small watermark, which is not present when you purchase credits or subscribe.
Advanced mode (Text to image)
Unlimited access to Stable Diffusion. We don't add anything to your prompts - you get what you request. This has upsides and downsides. You can get bad and unexpected results if you provide a short prompt, however you can get a lot of control and can improve your prompt as you go.
There are multiple parameters available. The default values are just fine for most case. To start having fun you just need to understand the following:
Prompt: what you are requesting to be visible in the image
Negative prompt: specify what you don't want to see in the image
Seed: the number from which the randomness is determined. The same prompt with the same seed will always result in the same image. However, the same prompt with a different seed will result in a different image.
Lets see how an image evolves by example:
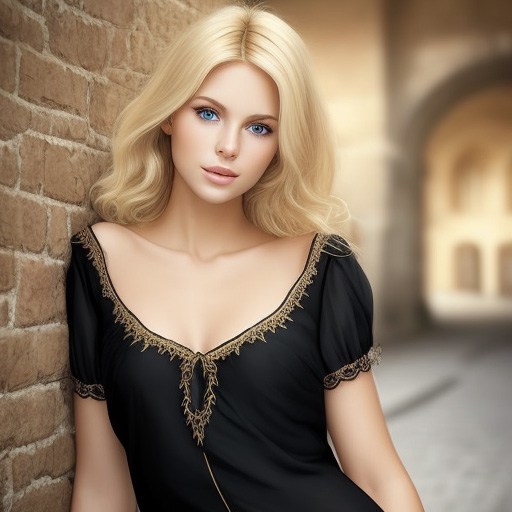
Our image goal: Portrait photo of a beautiful European blonde woman. This is what we generated in the end:
This is our thinking process of how we reached the end goal:
-
Enter a basic prompt and see what we get:
We notice that the result looks like a computer graphics, however we are looking for a realistic photography. This is because we did not specify what kind of image we are looking for.
Prompt: Beautiful European blonde woman
Negative prompt: -
-
To make the it look realistic, we add a small negative prompt.
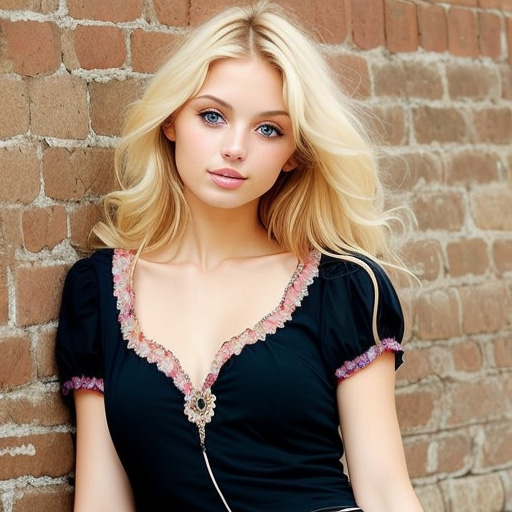
The image got more photography-like, but there is more to improve.
Prompt: Beautiful European blonde woman
Negative prompt: 3d, cgi
-
To make it more interesting, we describe the photohraphy style in more details
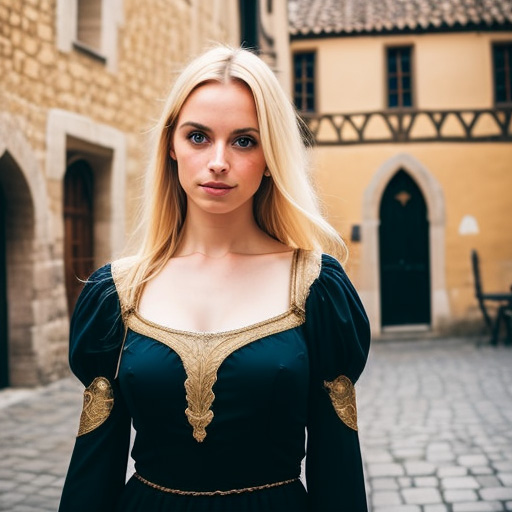
We can notice that we lost the original character. To improve our chances of getting the same character, we must describe our character in more details.
Prompt: Hyperrealistic beautiful European blonde woman standing posing in a medieval city, photography, f1/.4, bokeh
Negative prompt: 3d, cgi
-
Get rid of the medieval dress, describe character in more detail
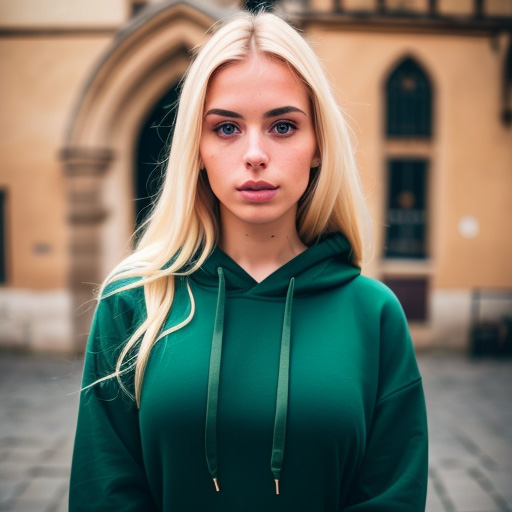
We can notice that we lost the original character. To improve our chances of getting the same character, we must describe our character in more details.
Prompt: Hyperrealistic beautiful European blonde woman, instagram model, 25 years old, dressed in a dark green hoodie, highly proportional face, standing posing in a medieval city, photography, f1/.4, bokeh, close up
Negative prompt: 3d, cgi, drawing
-
Let's add some smile :)
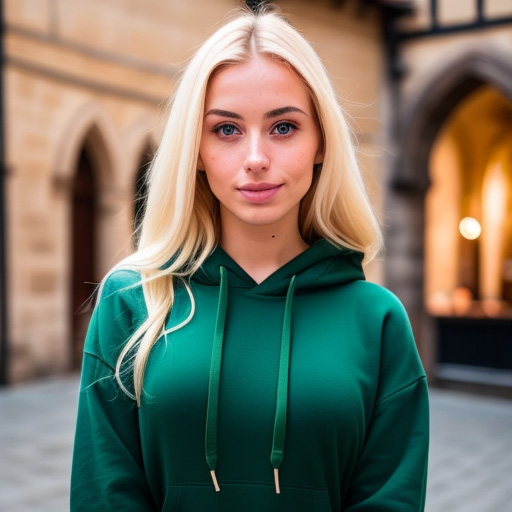
Exactly what we wanted.
Prompt: Hyperrealistic beautiful European blonde woman, instagram model, 25 years old, friendly smirk, dressed in a dark green hoodie, highly proportional face, standing posing in a medieval city, photography, f1/.4, bokeh, close up
Negative prompt: 3d, cgi, drawing
Image to Image
Image to Image mode lets you generate a new image using another image as template. This tool is useful for creating similar characters or images to your previously generated. It preserves the shape and composition, depending on Denoising strength.
Denoising: This setting changes how much on a scale from 0.01 to 1 the image will be changed. A very low setting will yield you practically the same image, while a high setting generates a completely different image. We recommend you to play around this setting to get a feel for it.
Lets see how an image evolves by example:
Our image goal: Portrait photo of a beautiful European blonde woman. This is what we generated in the end:
This is our thinking process of how we reached the end goal:
-
Our source image
Coming soon!We notice that the result looks like a computer graphics, however we are looking for a realistic photography. This is because we did not specify what kind of image we are looking for.
Prompt: Beautiful European blonde woman
Negative prompt: -
Upscale
This mode increases the size of the original picture and generating larger, new detail using AI algorithms.
Denoising: We recommend to set denoising to 0.4 - 0.44. Increased number will add more new detail, however it greatly increases risk of getting unwanted result - some parts of image will completely differ from what is intended.
Scale: Scale of the result image. For example, an image of 512x512 with scale of 2 will output a 1024x1024 image.
Lets see how an image upscales by example:
-
Image comparison
Before: 512x512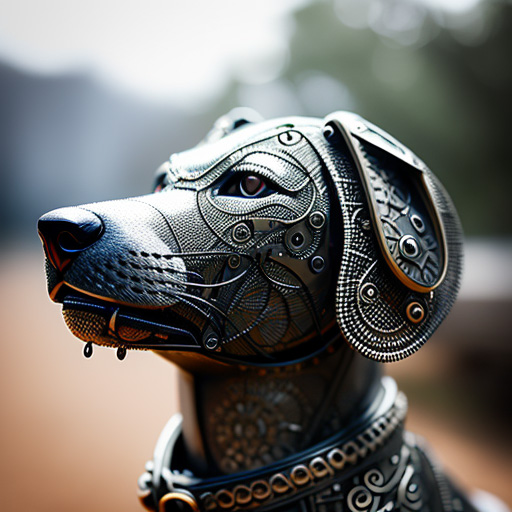 After: 2048x2048
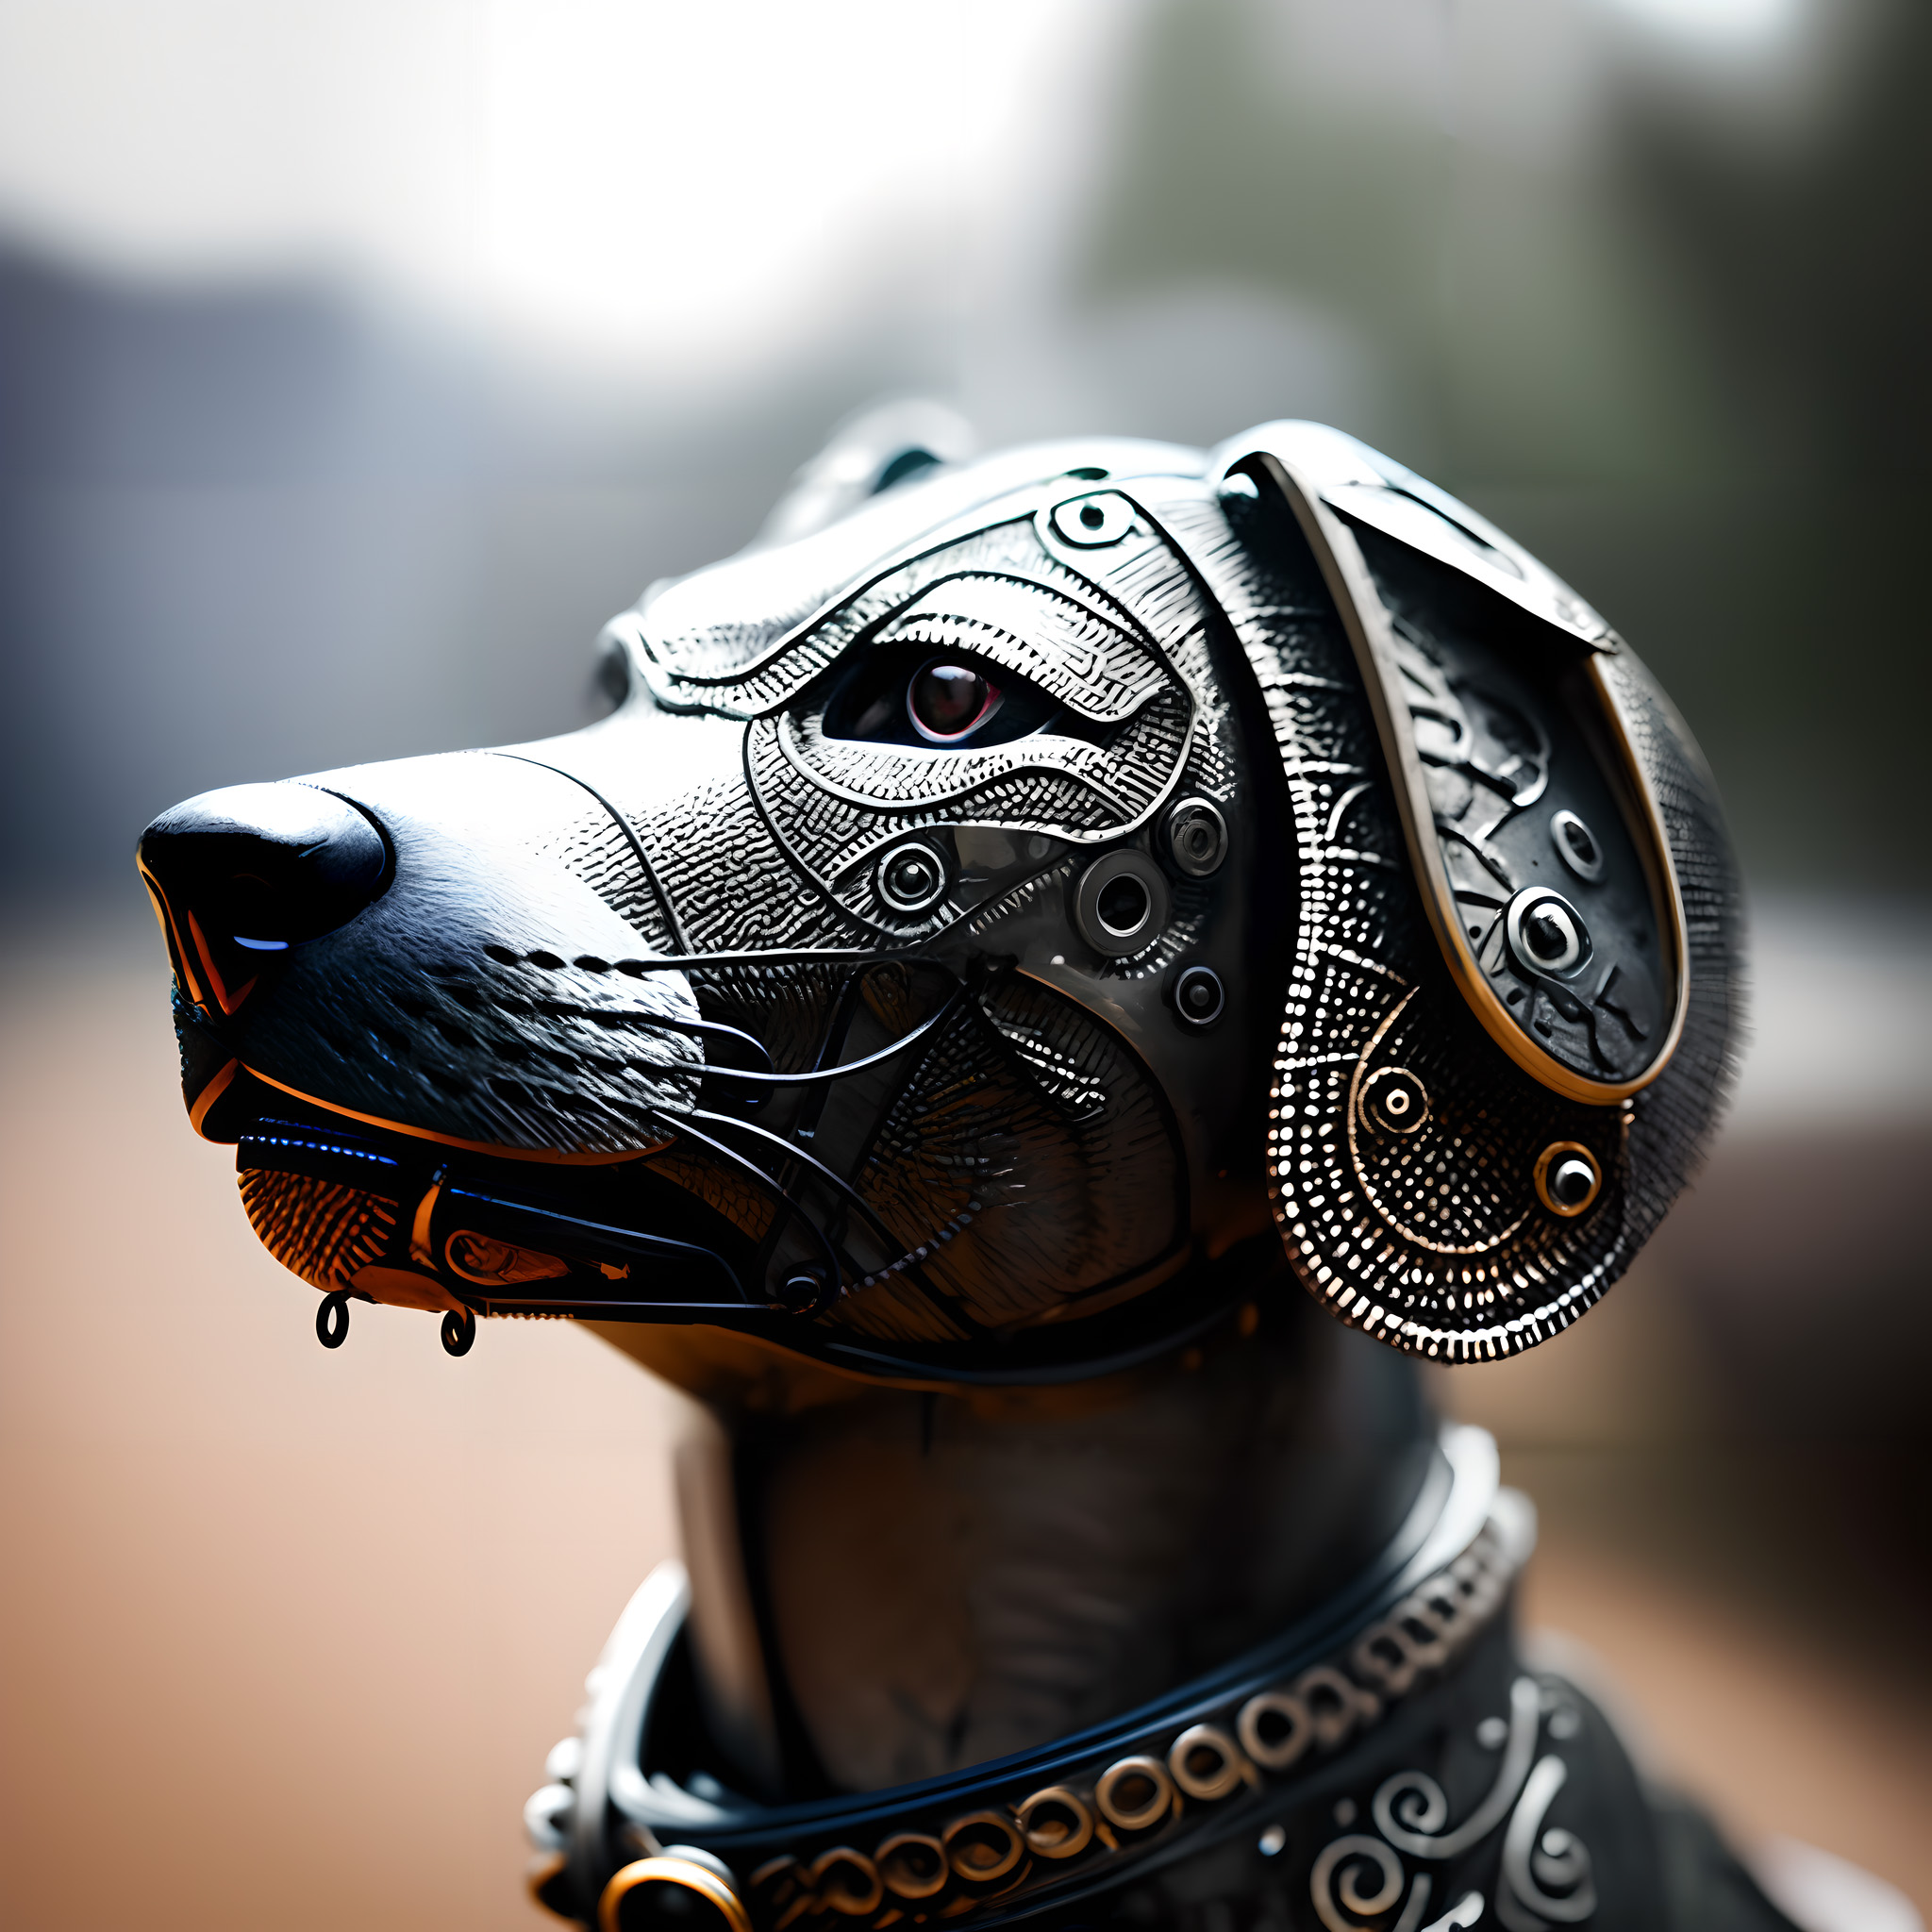
Another way to look at it
When we crop the eye from a 512x512 image, it requires us to enlarge it using common methods such as bicubic interpolation or nearest neighbor scaling. However, these methods result in a loss of detail and a blurrier image. On the other hand, when the eye is cropped from a 2048x2048 image, there's no need to further increase its size, allowing it to maintain more detail and sharpness.
Cropped out of 512x512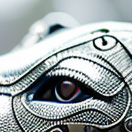 Cropped out of 2048x2048
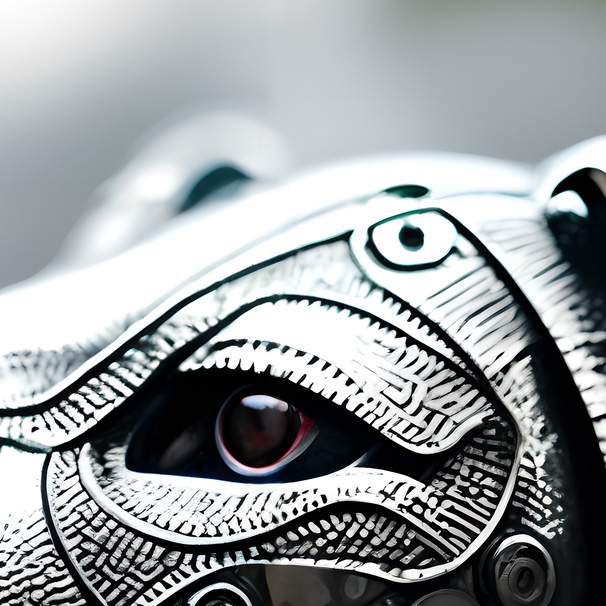
Pose
You can draw a pose image of up to 3 characters. The output image quality depends on how realistically the poses are drawn.
Weight: This parameter allows to set how strictly AI will follow the provided pose image. We recommend to start with the default value.